
Dis-assembly and re-assembly is very easy and safe.
Just take your time and you won't damage anything.
Tools required: Screwdriver with Torx bits (sizes go here)
(Click on the photos for a larger image)
1. Remove screws on the top surface
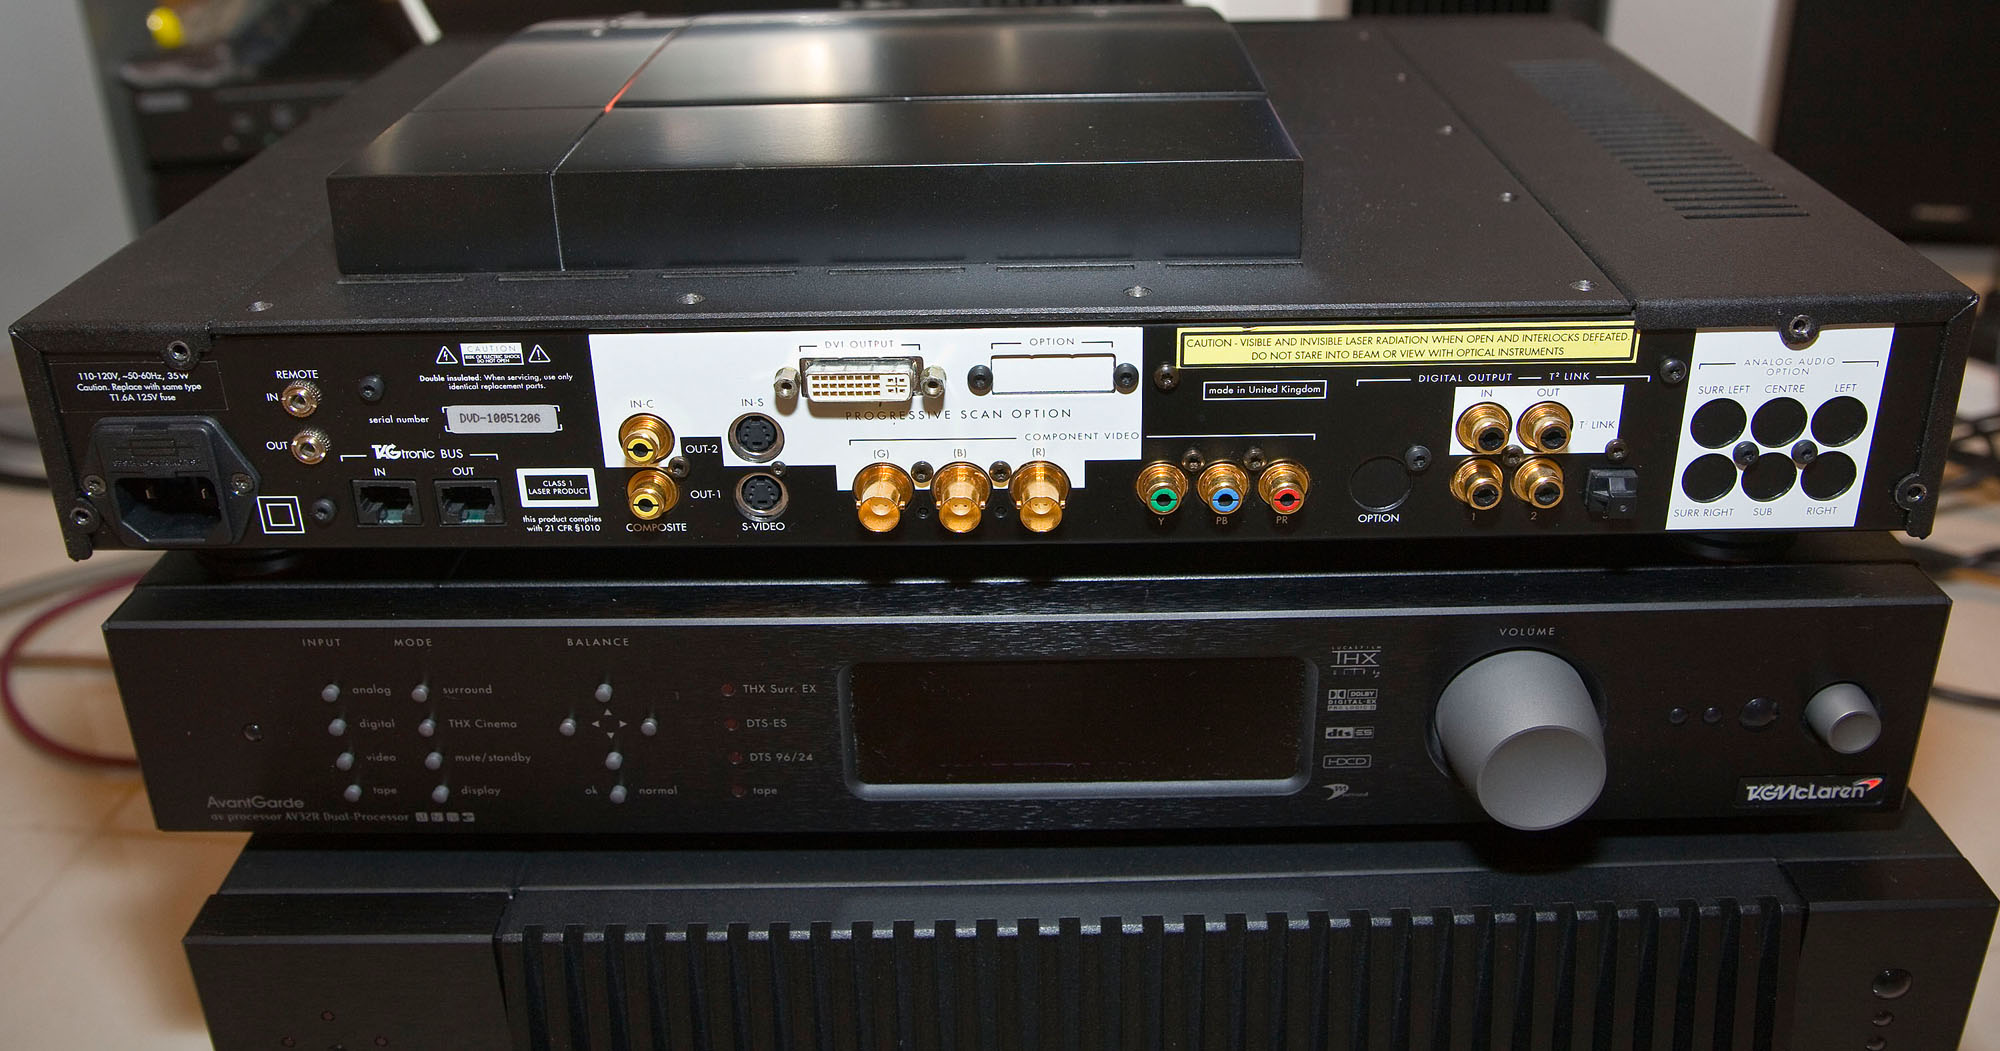
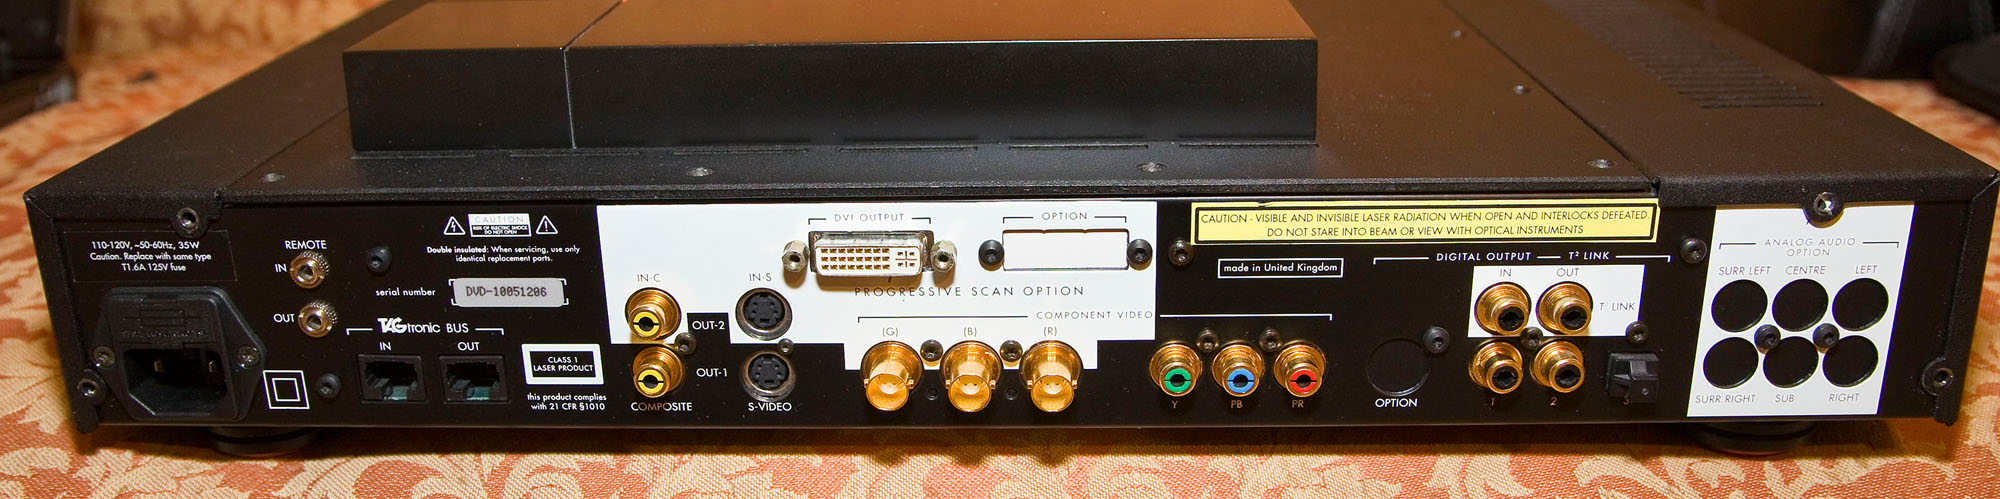
2. Remove the 4 screws on the back of the unit (these screws secure the top cover to the chassis along the edges)
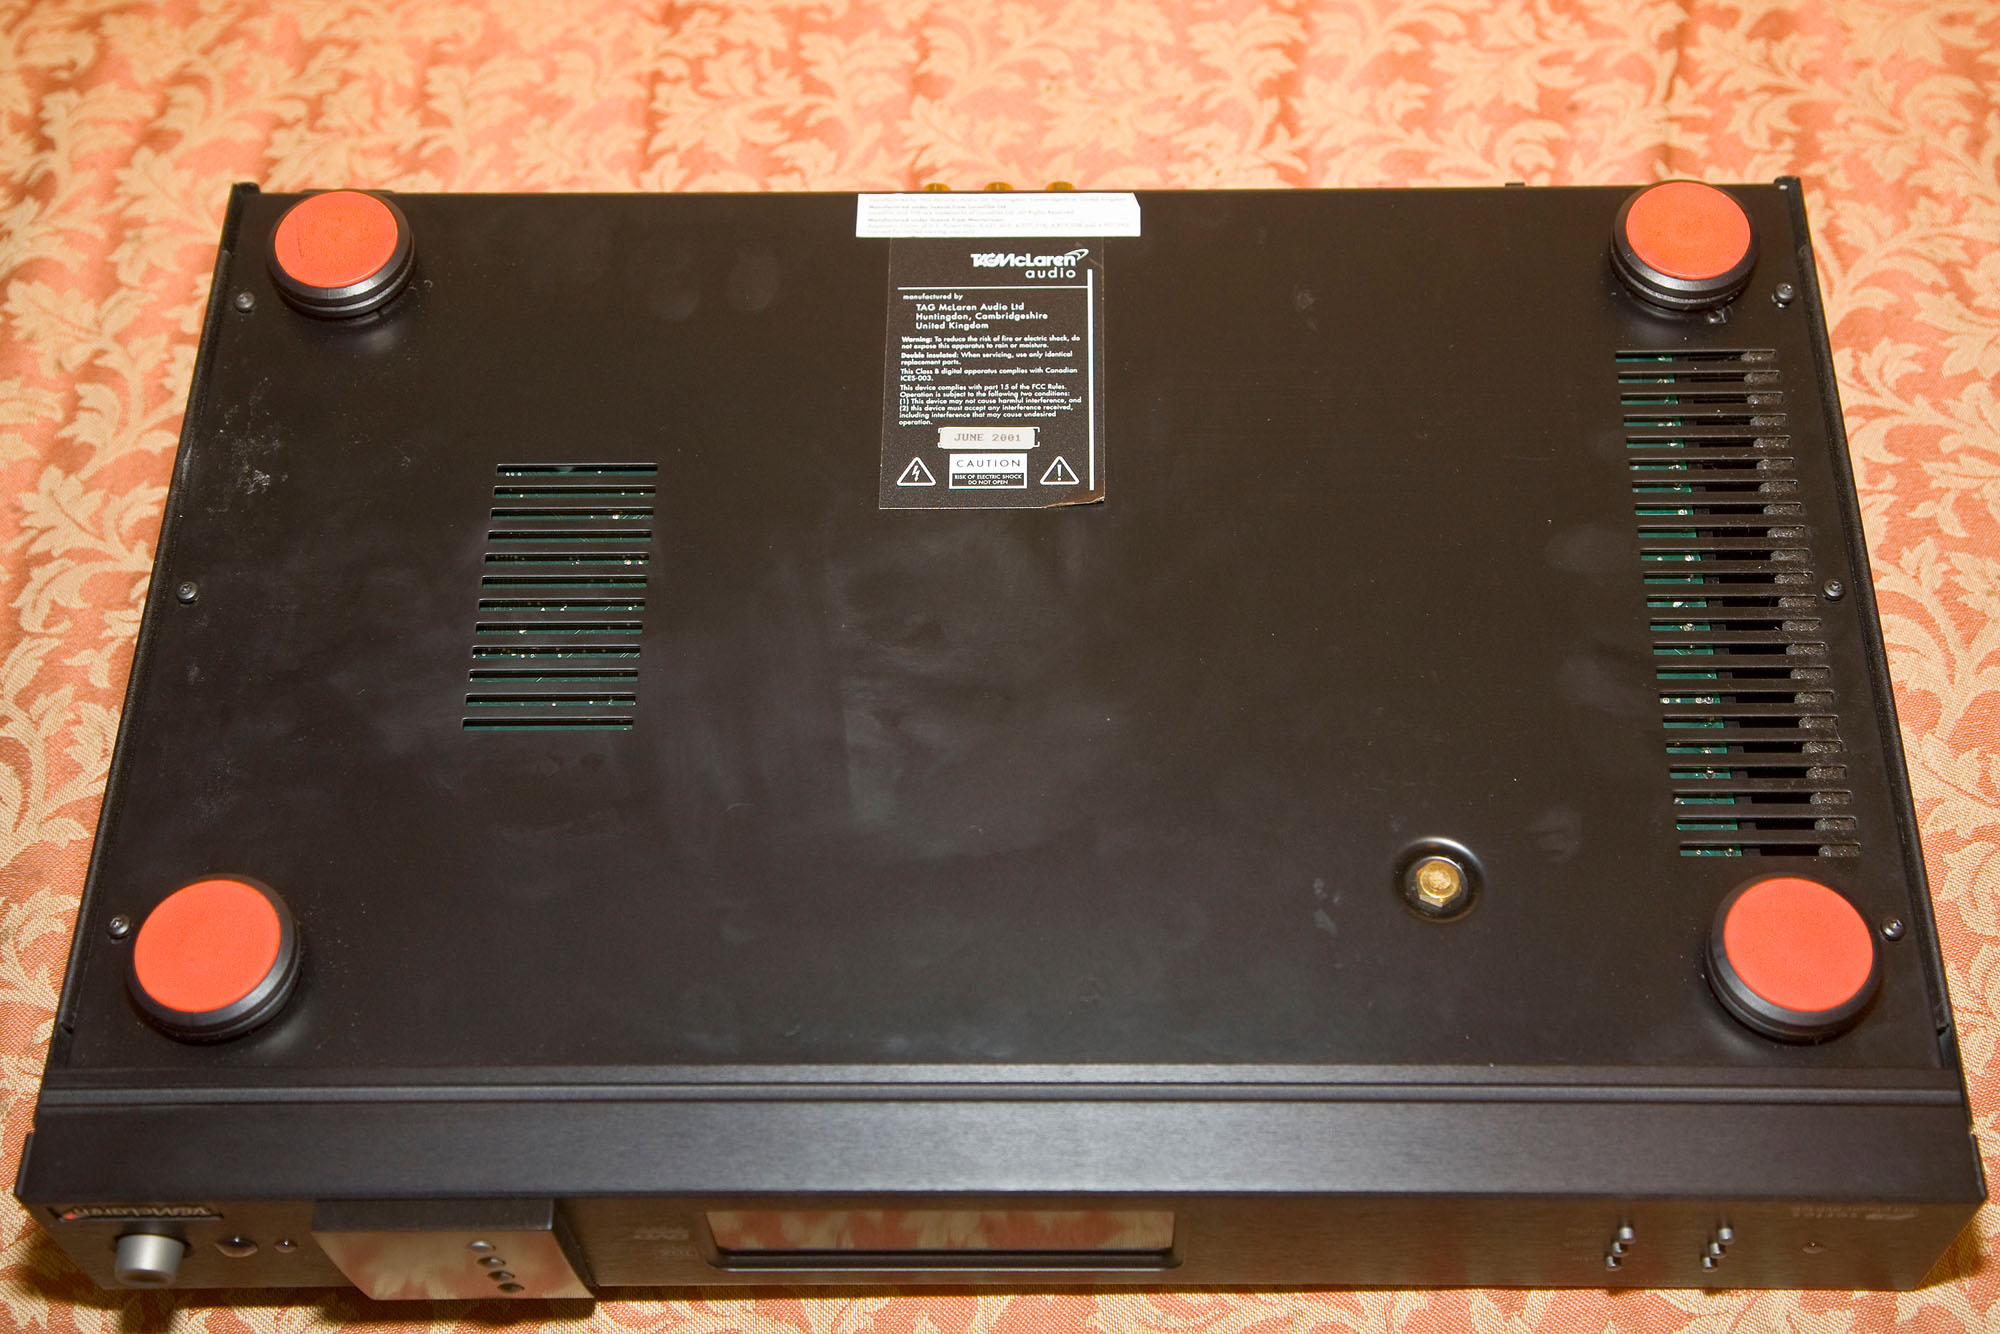
3. Remove the 6 screws on the bottom of the unit (Place the unit upside down on a soft surface such as this old couch or a pillow. I wouldn't use a good lounge in case dirt from the DVD32R leave marks on it.)
4. Place the unit right way up (and rear facing you) to lift off the top cover
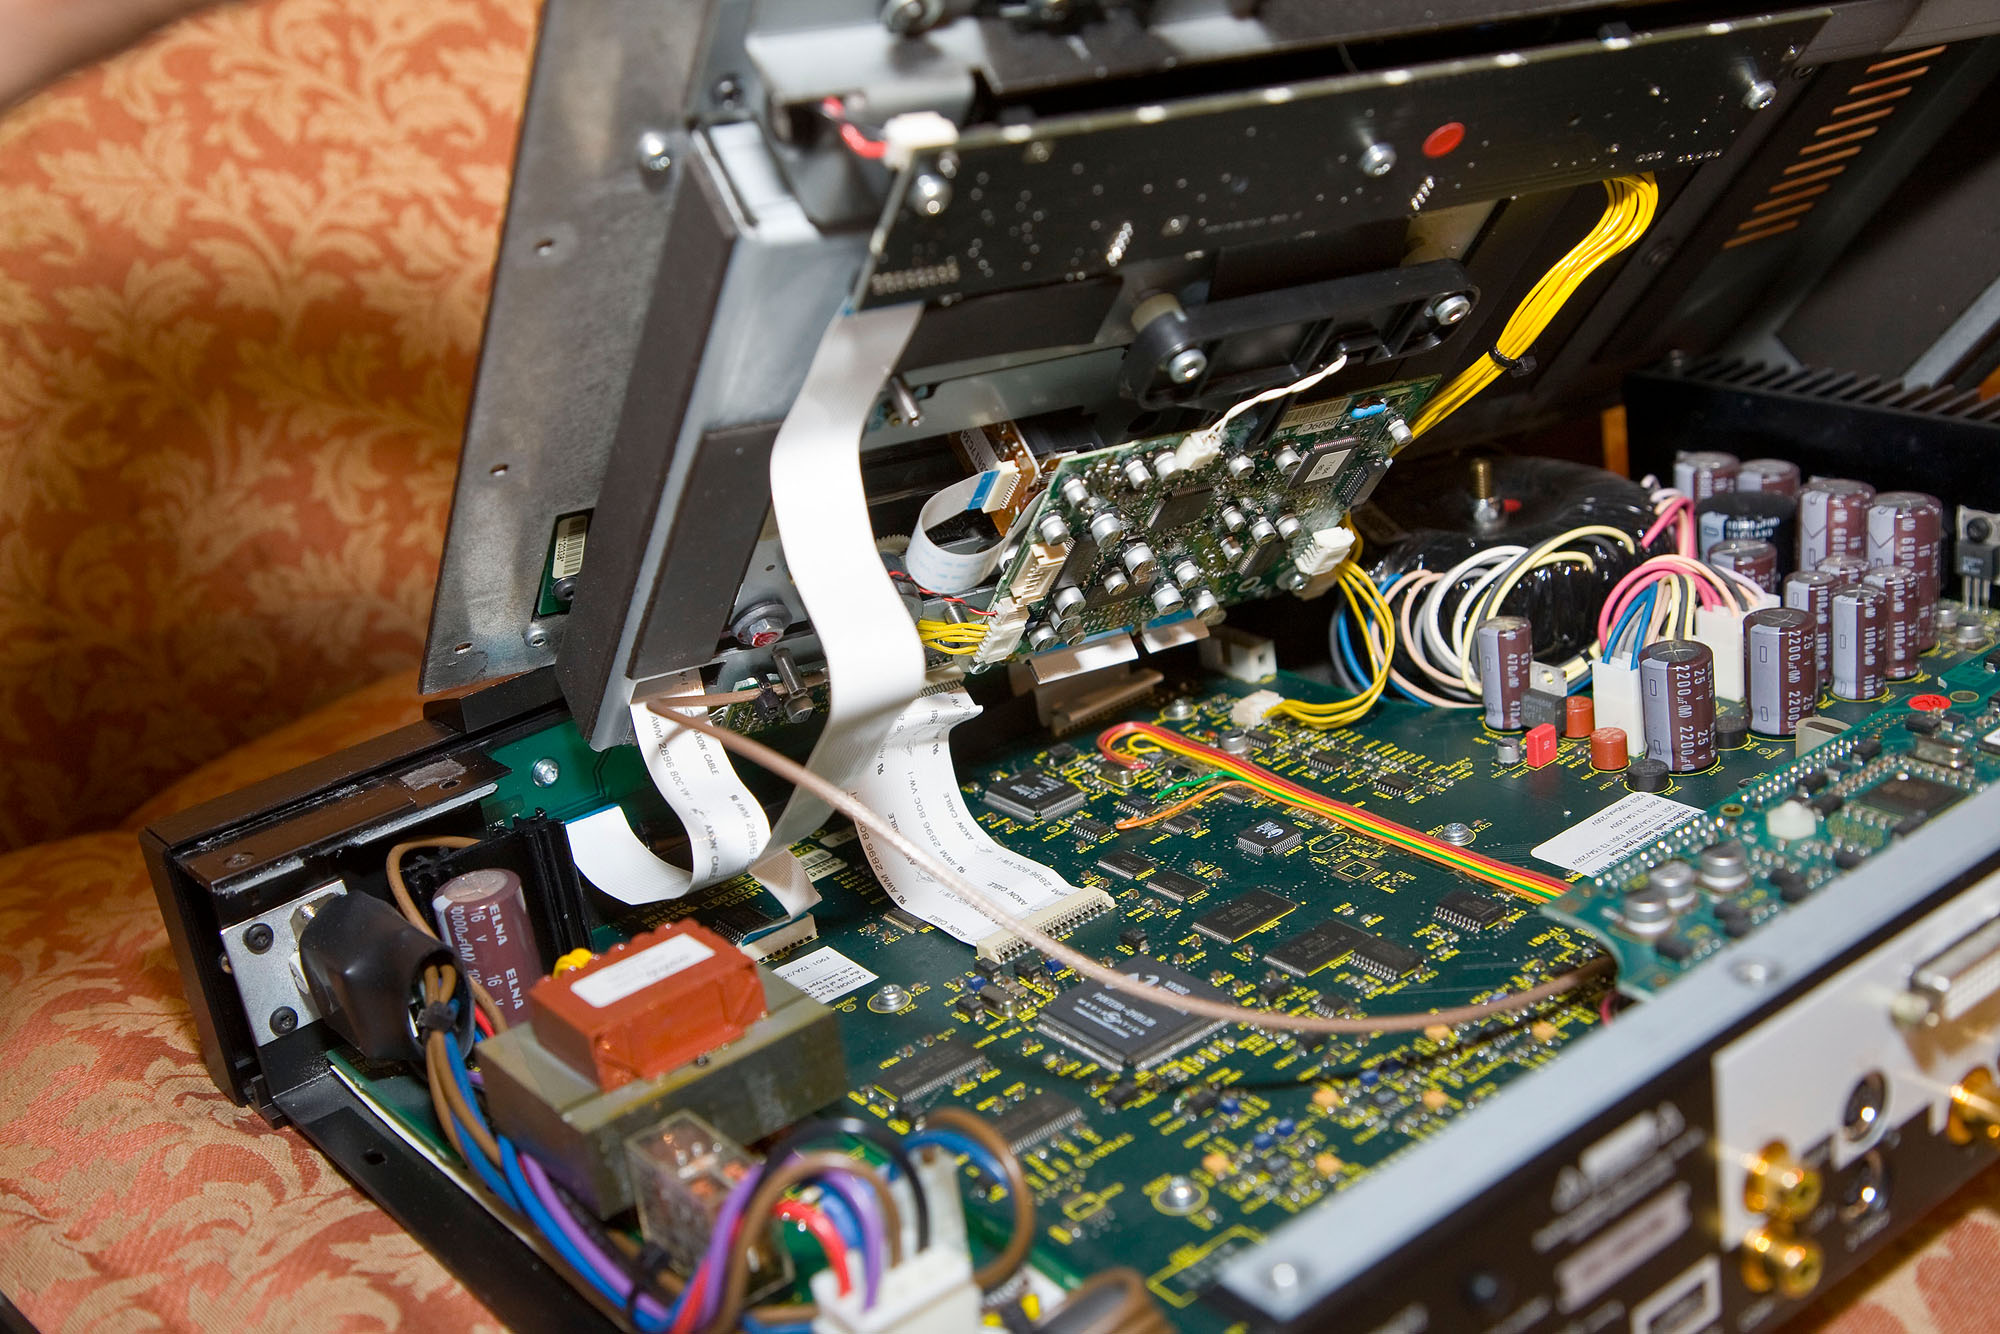
5. Gently lift up the top cover from its back edge
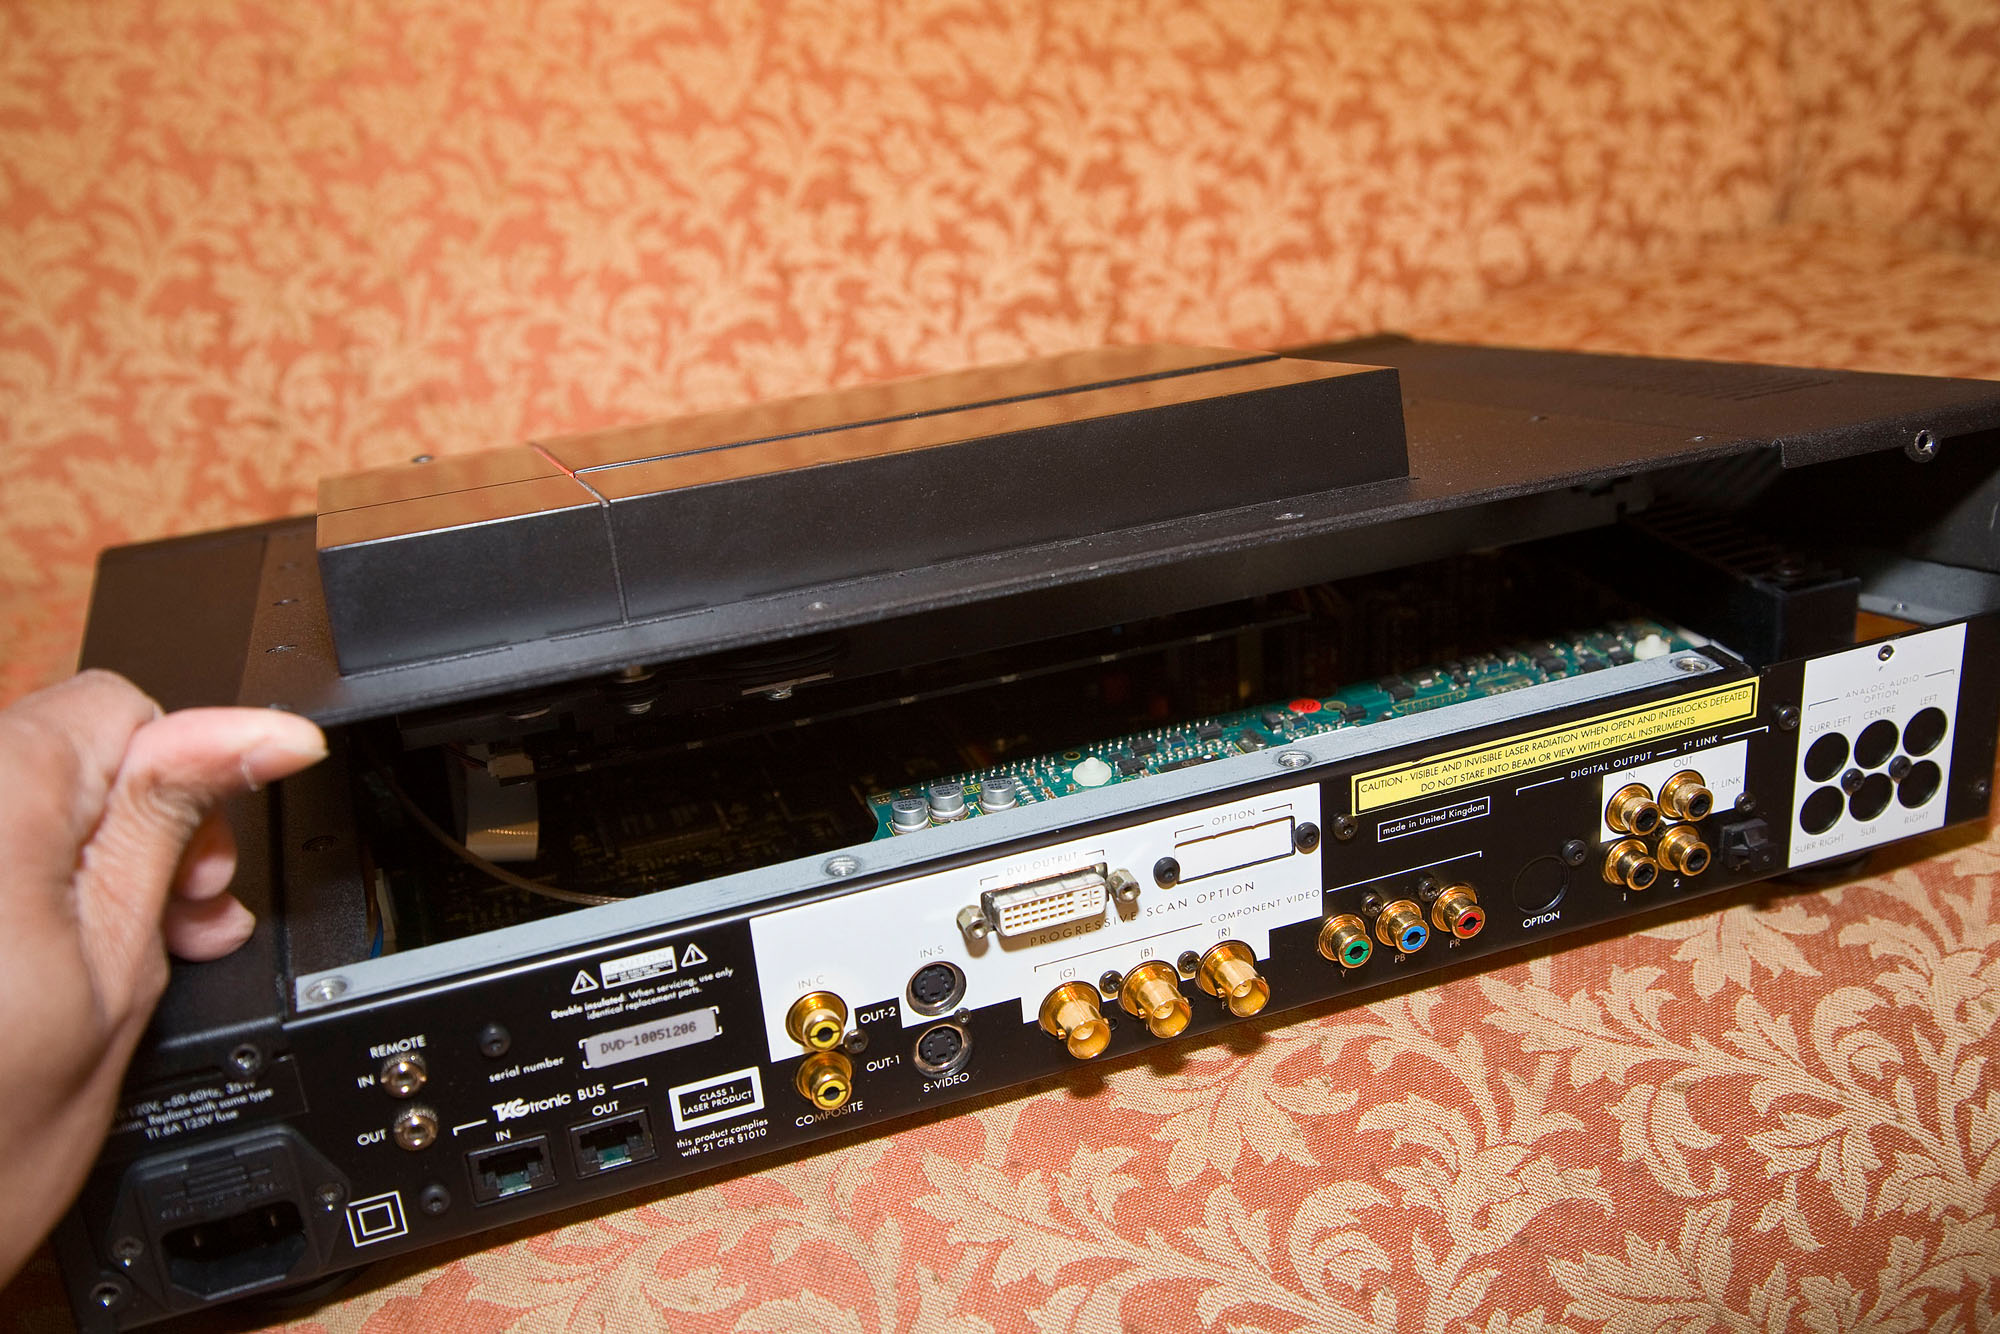
6. Hold the lid up and remove the side panel (metal part) and the attached cables
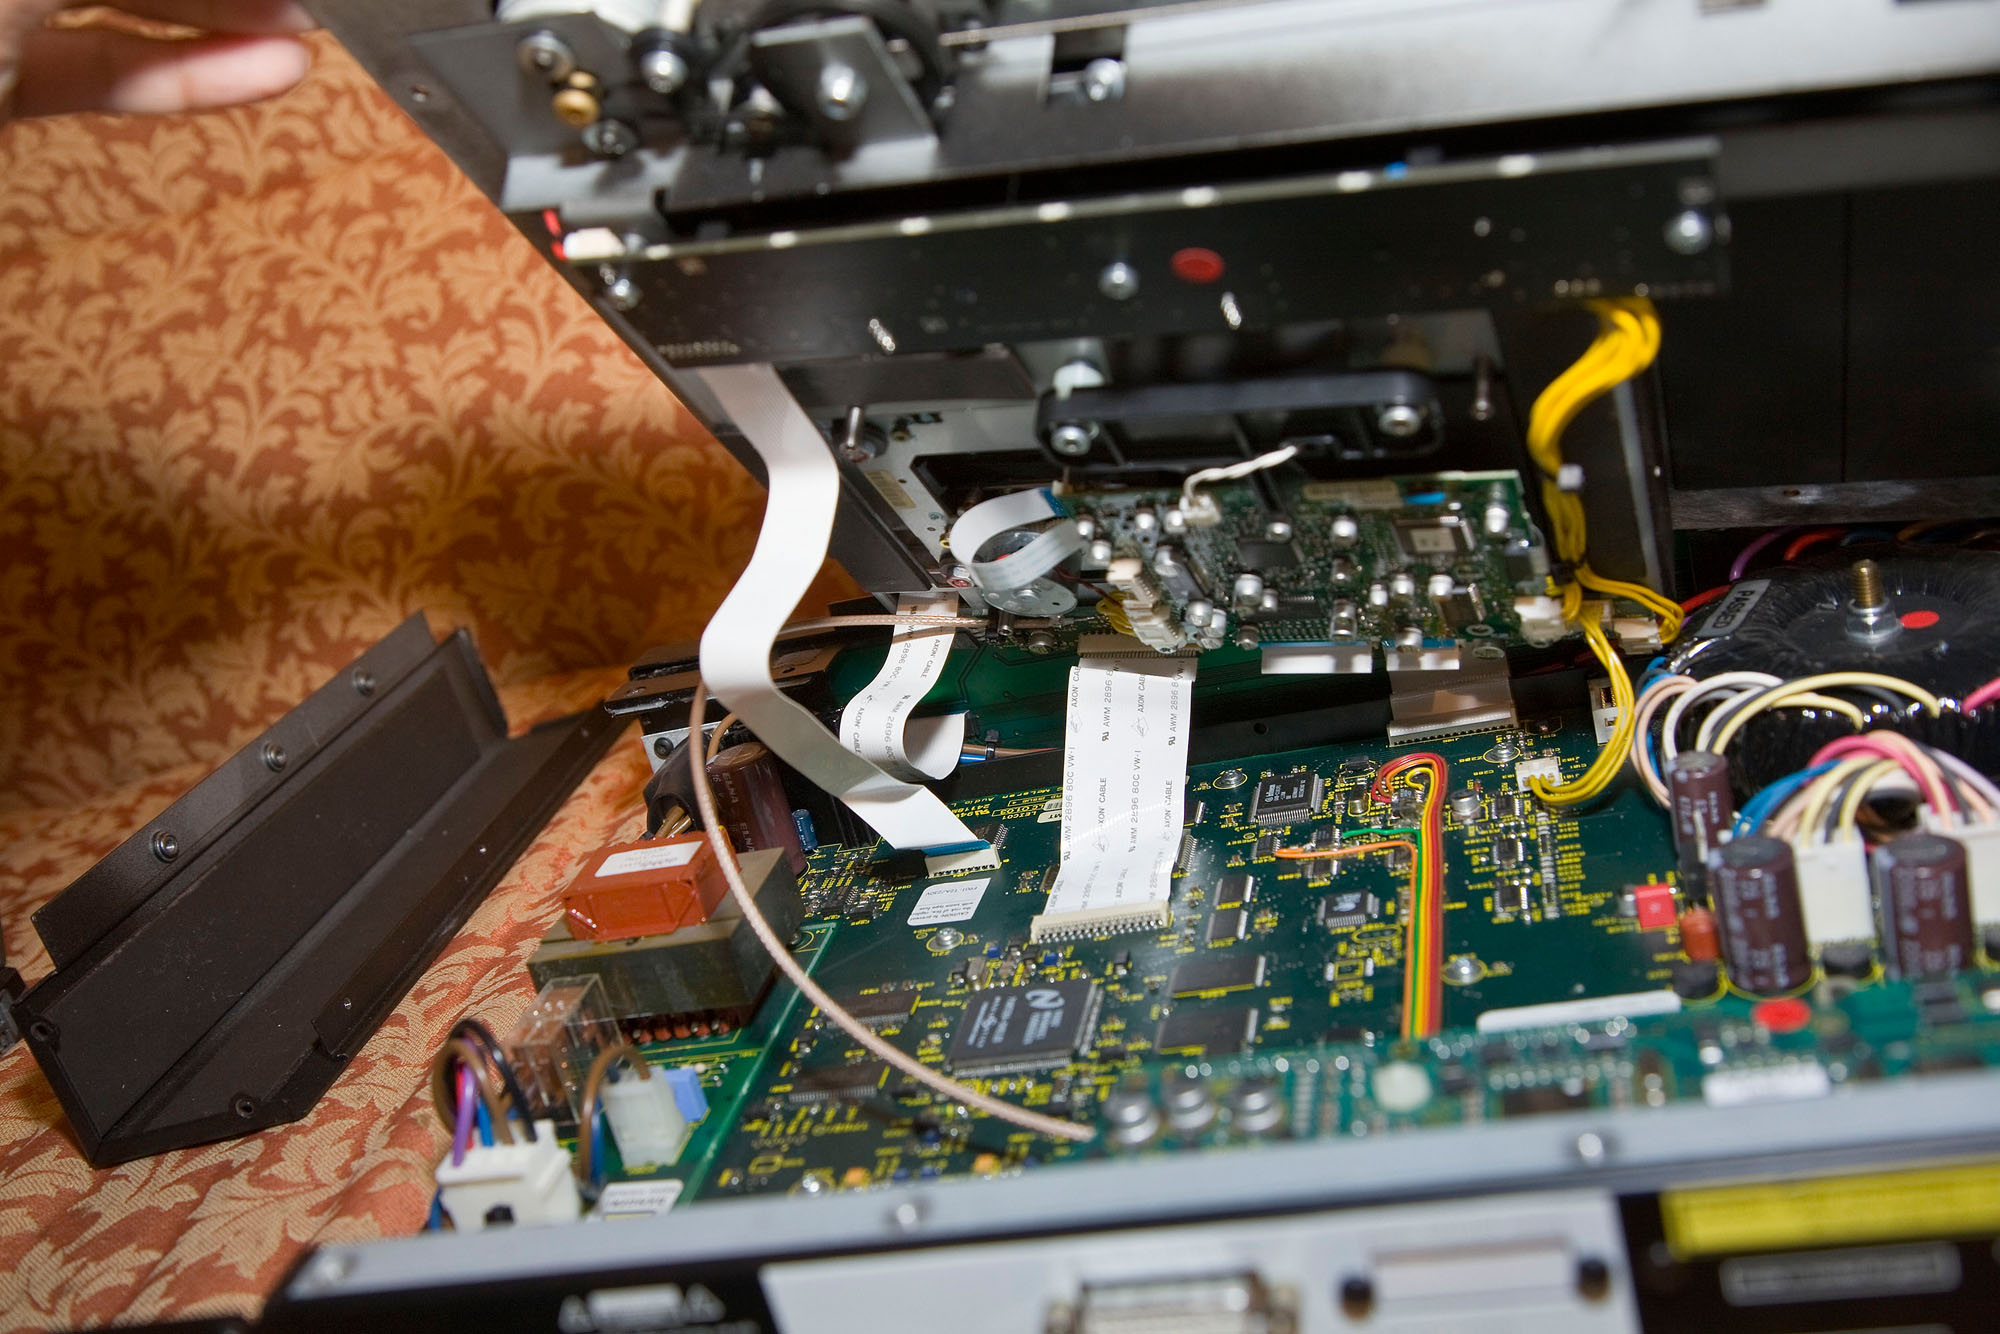
7. Remove all the cables from the DVD transport assembly (top) attached to the chassis (bottom) part.
3 white ribbon cables going to the main board
1 white ribbon cable going to the front panel
1 Yellow cable going to the main board
1 Brown 'co-axial' type cable going to the main board (at the rear of the unit)
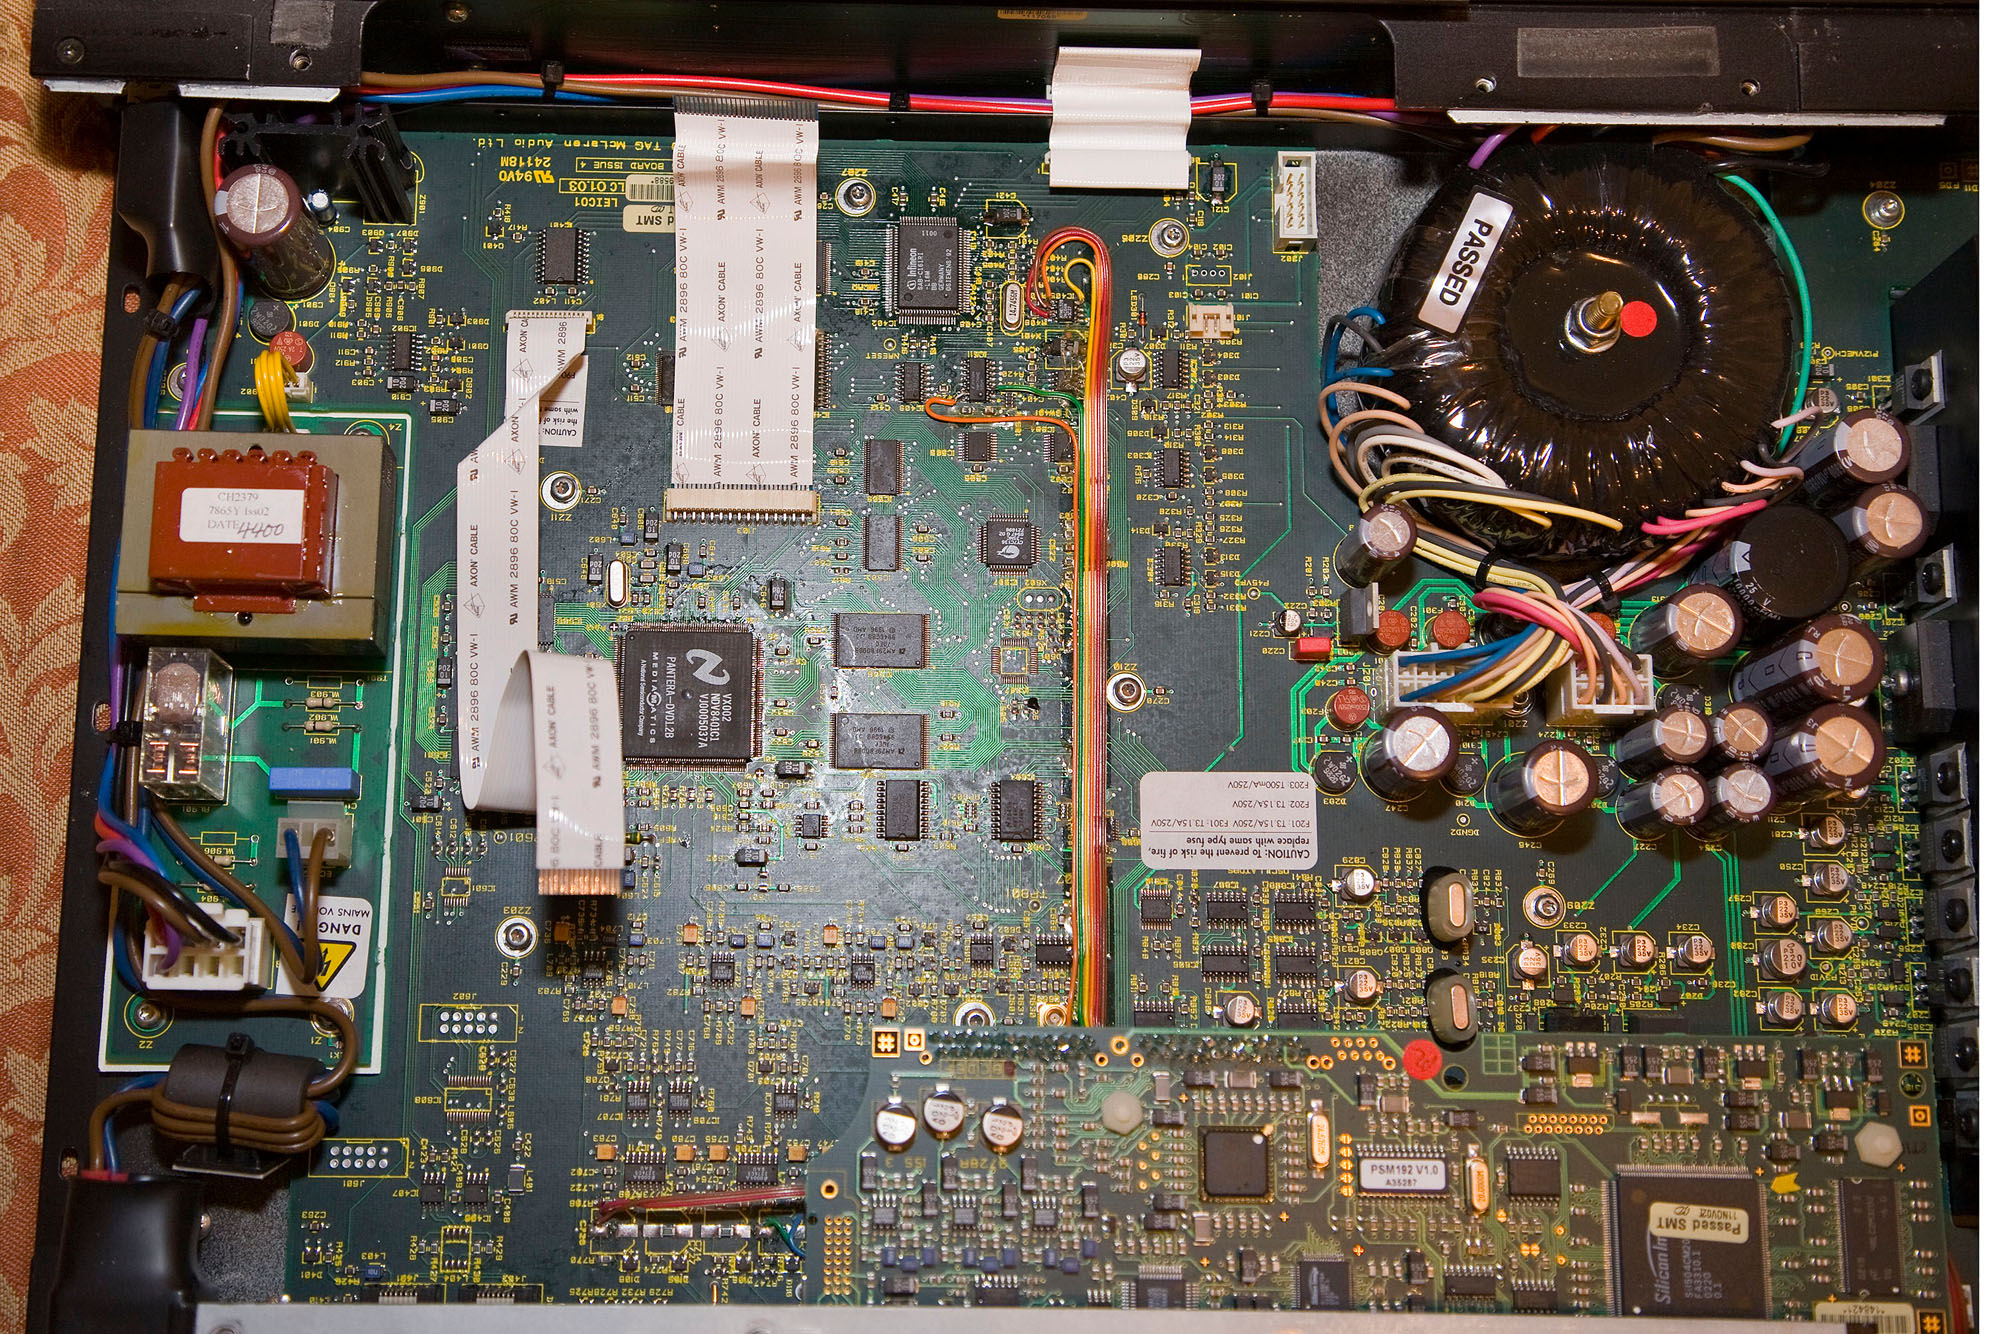
8. View of the main board mounted on the chasis (top view)
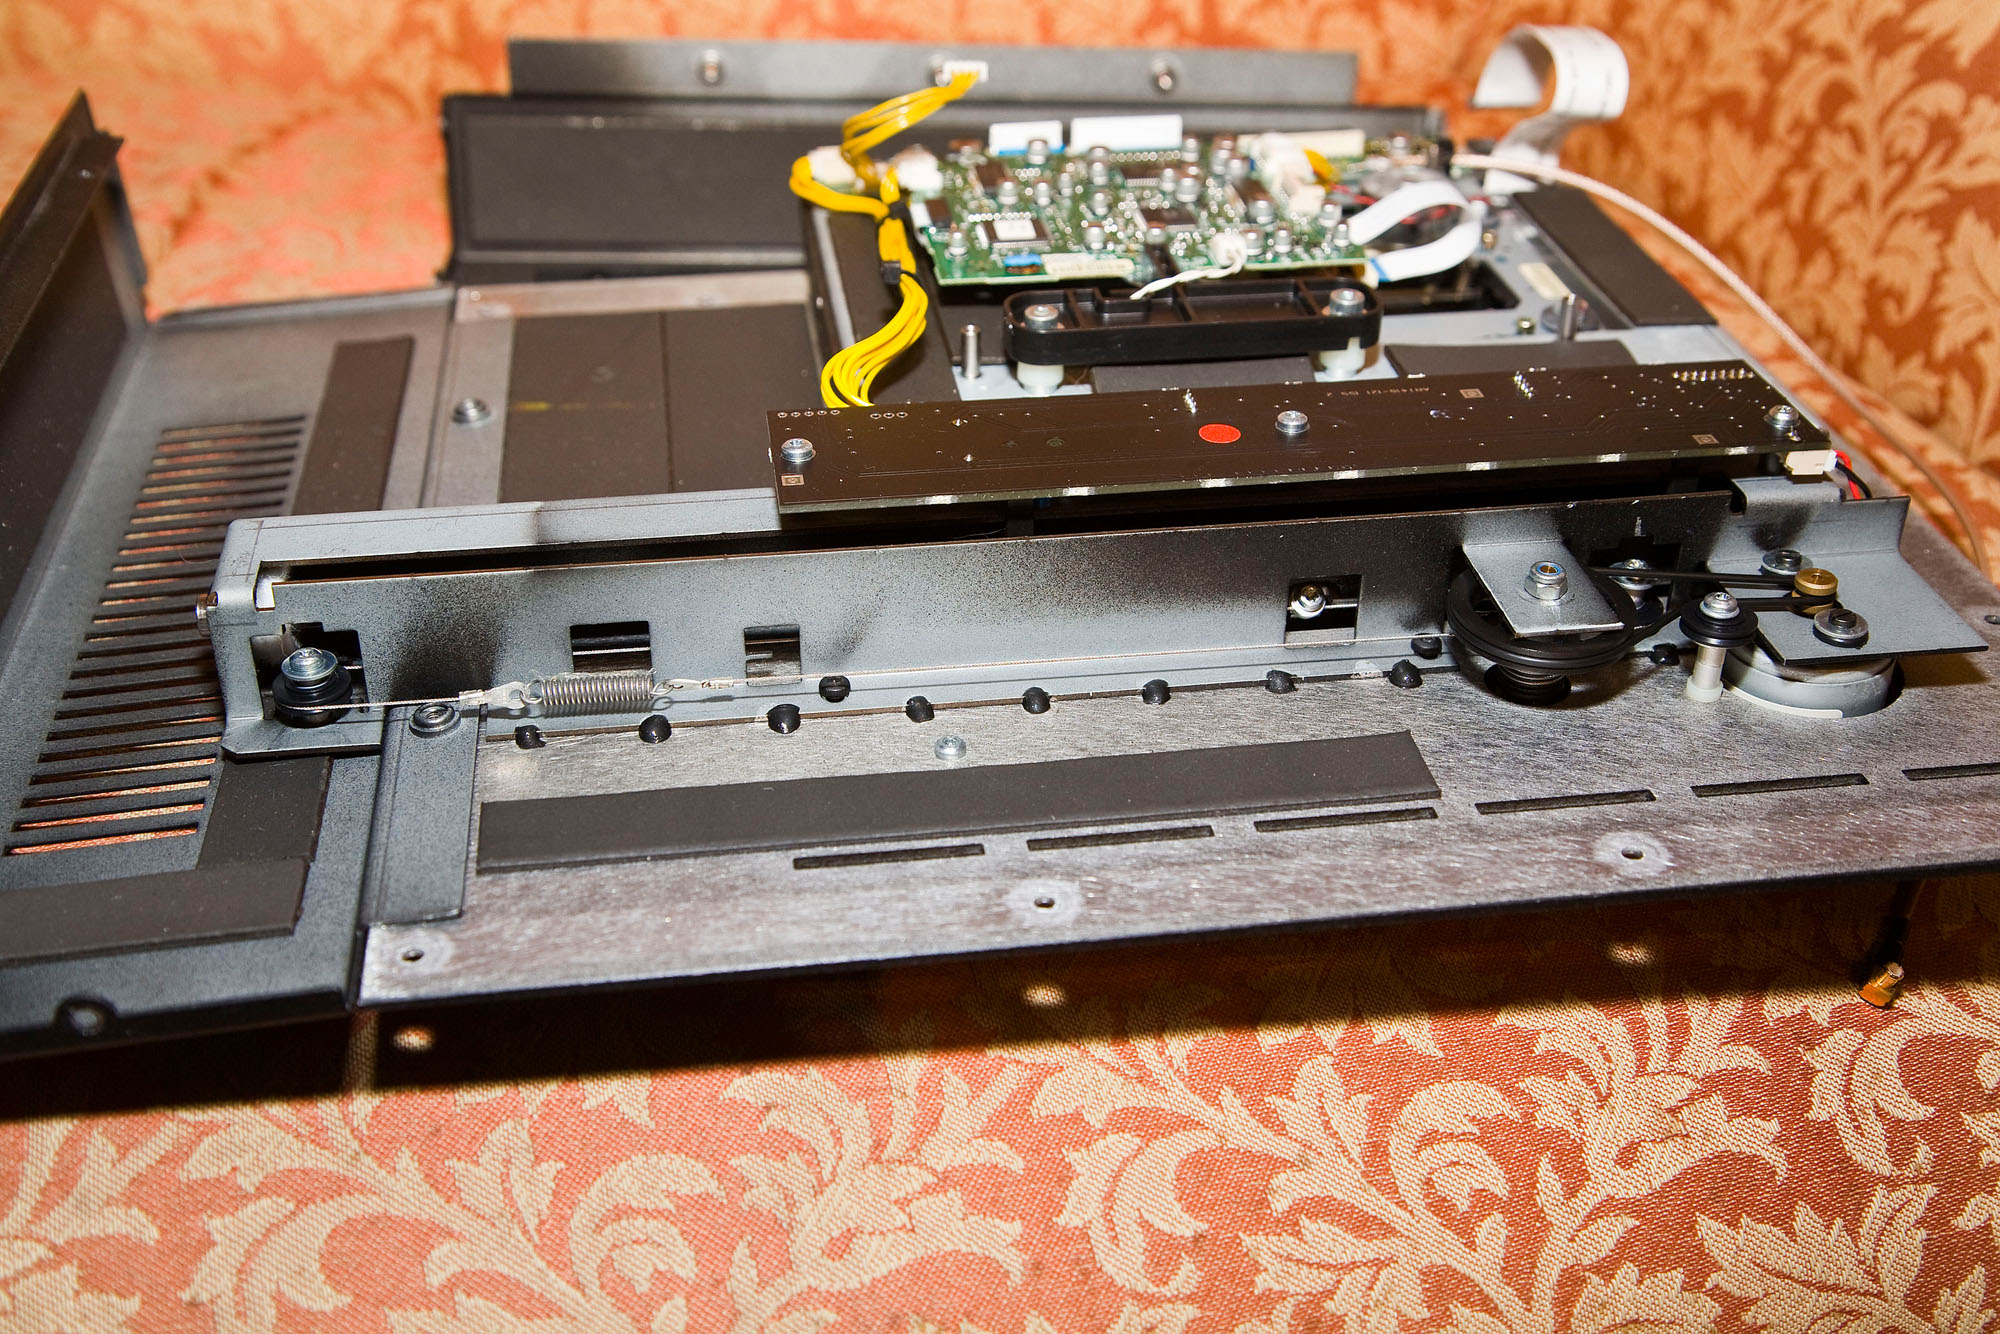
9. DVD Transport mechanism (under-side view)
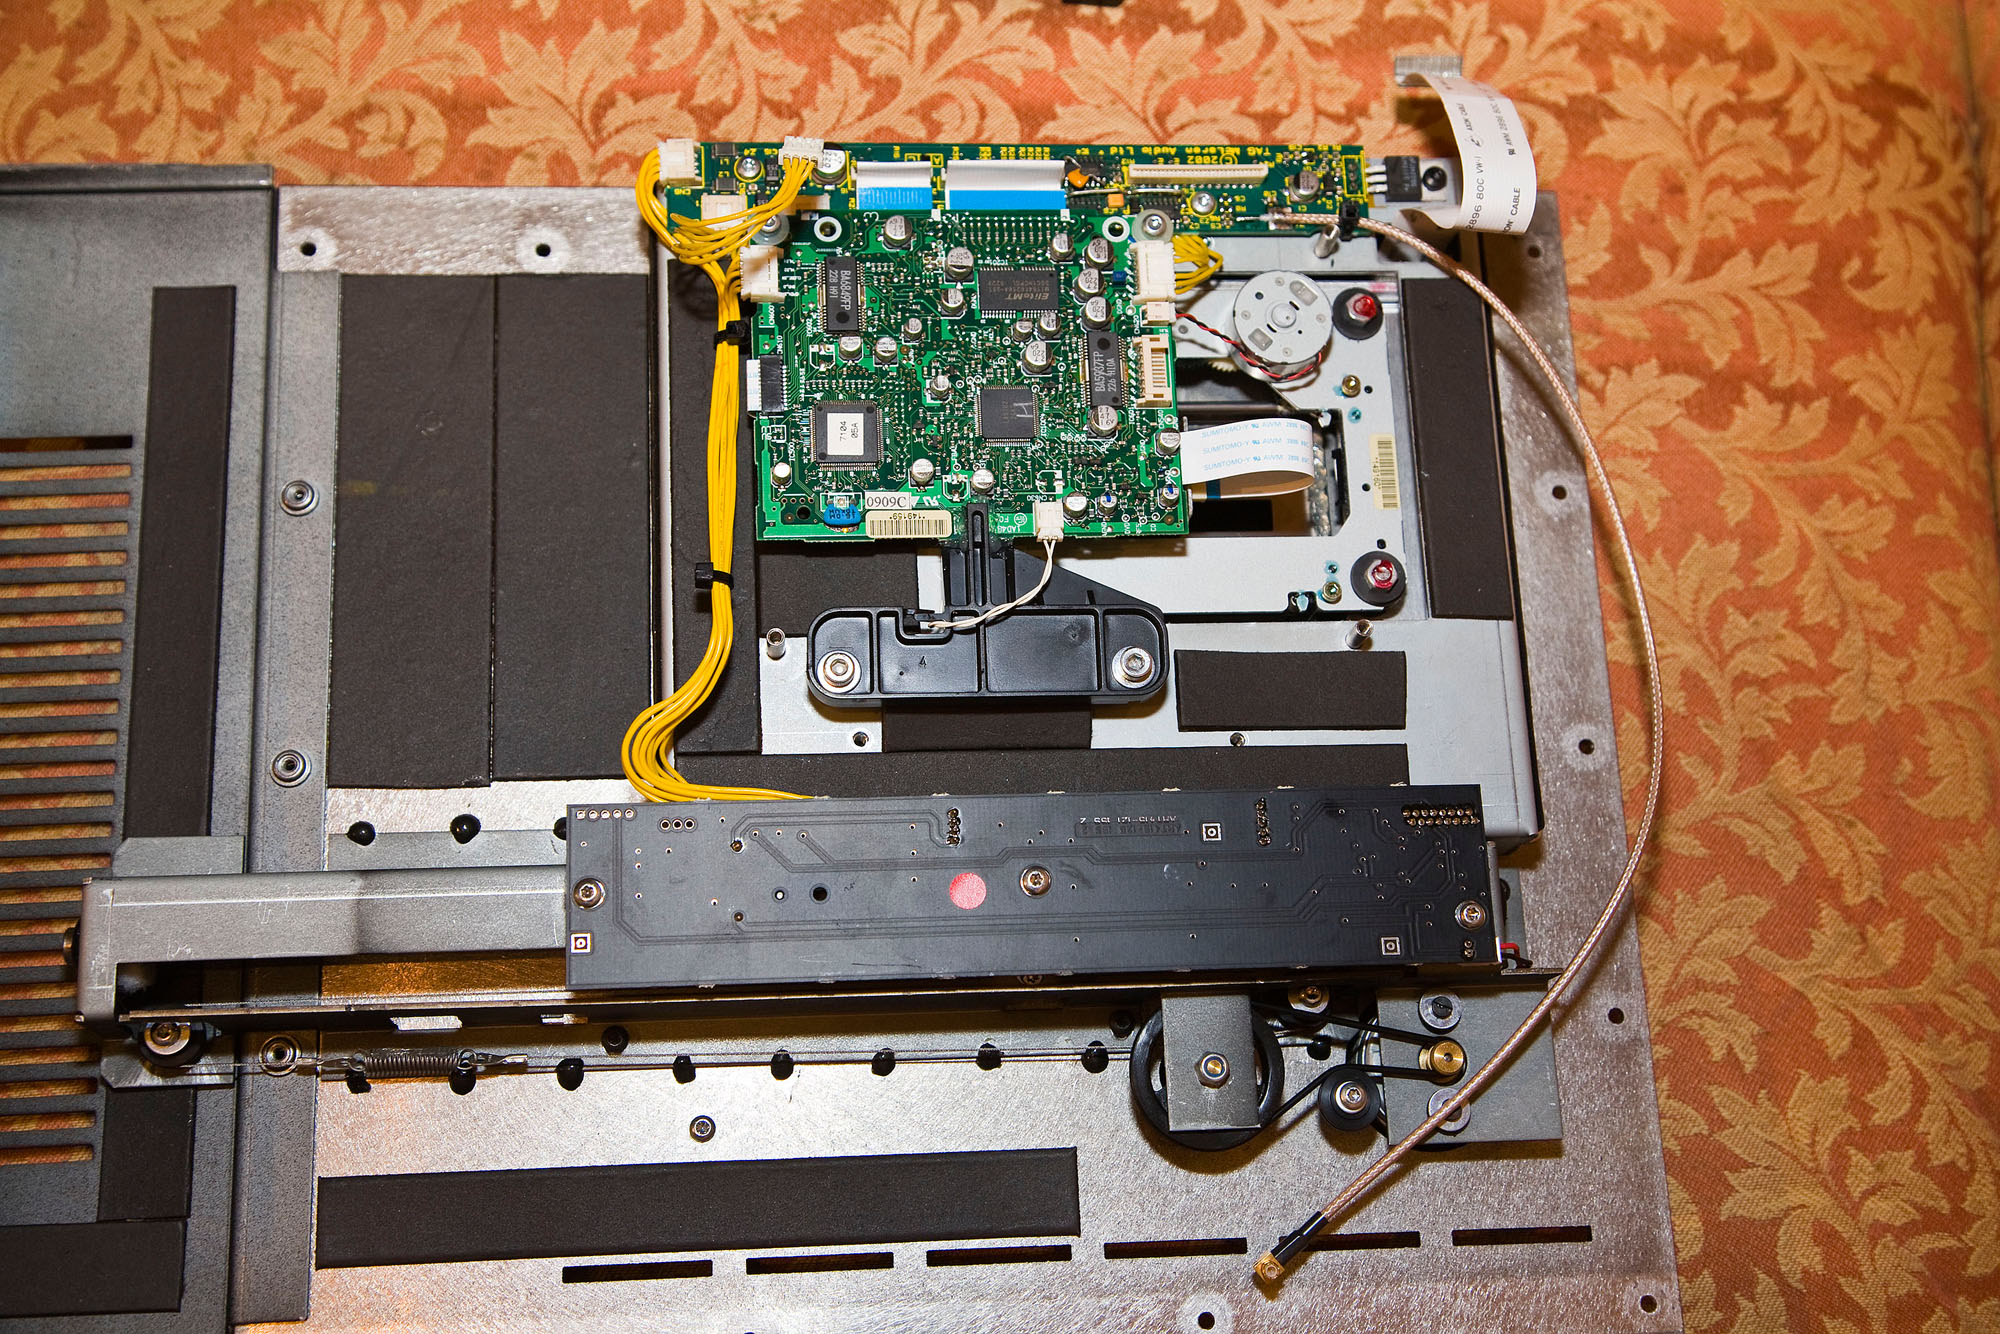
10. DVD door opening/closing view showing pulleys, cables, etc (under-side rear view)
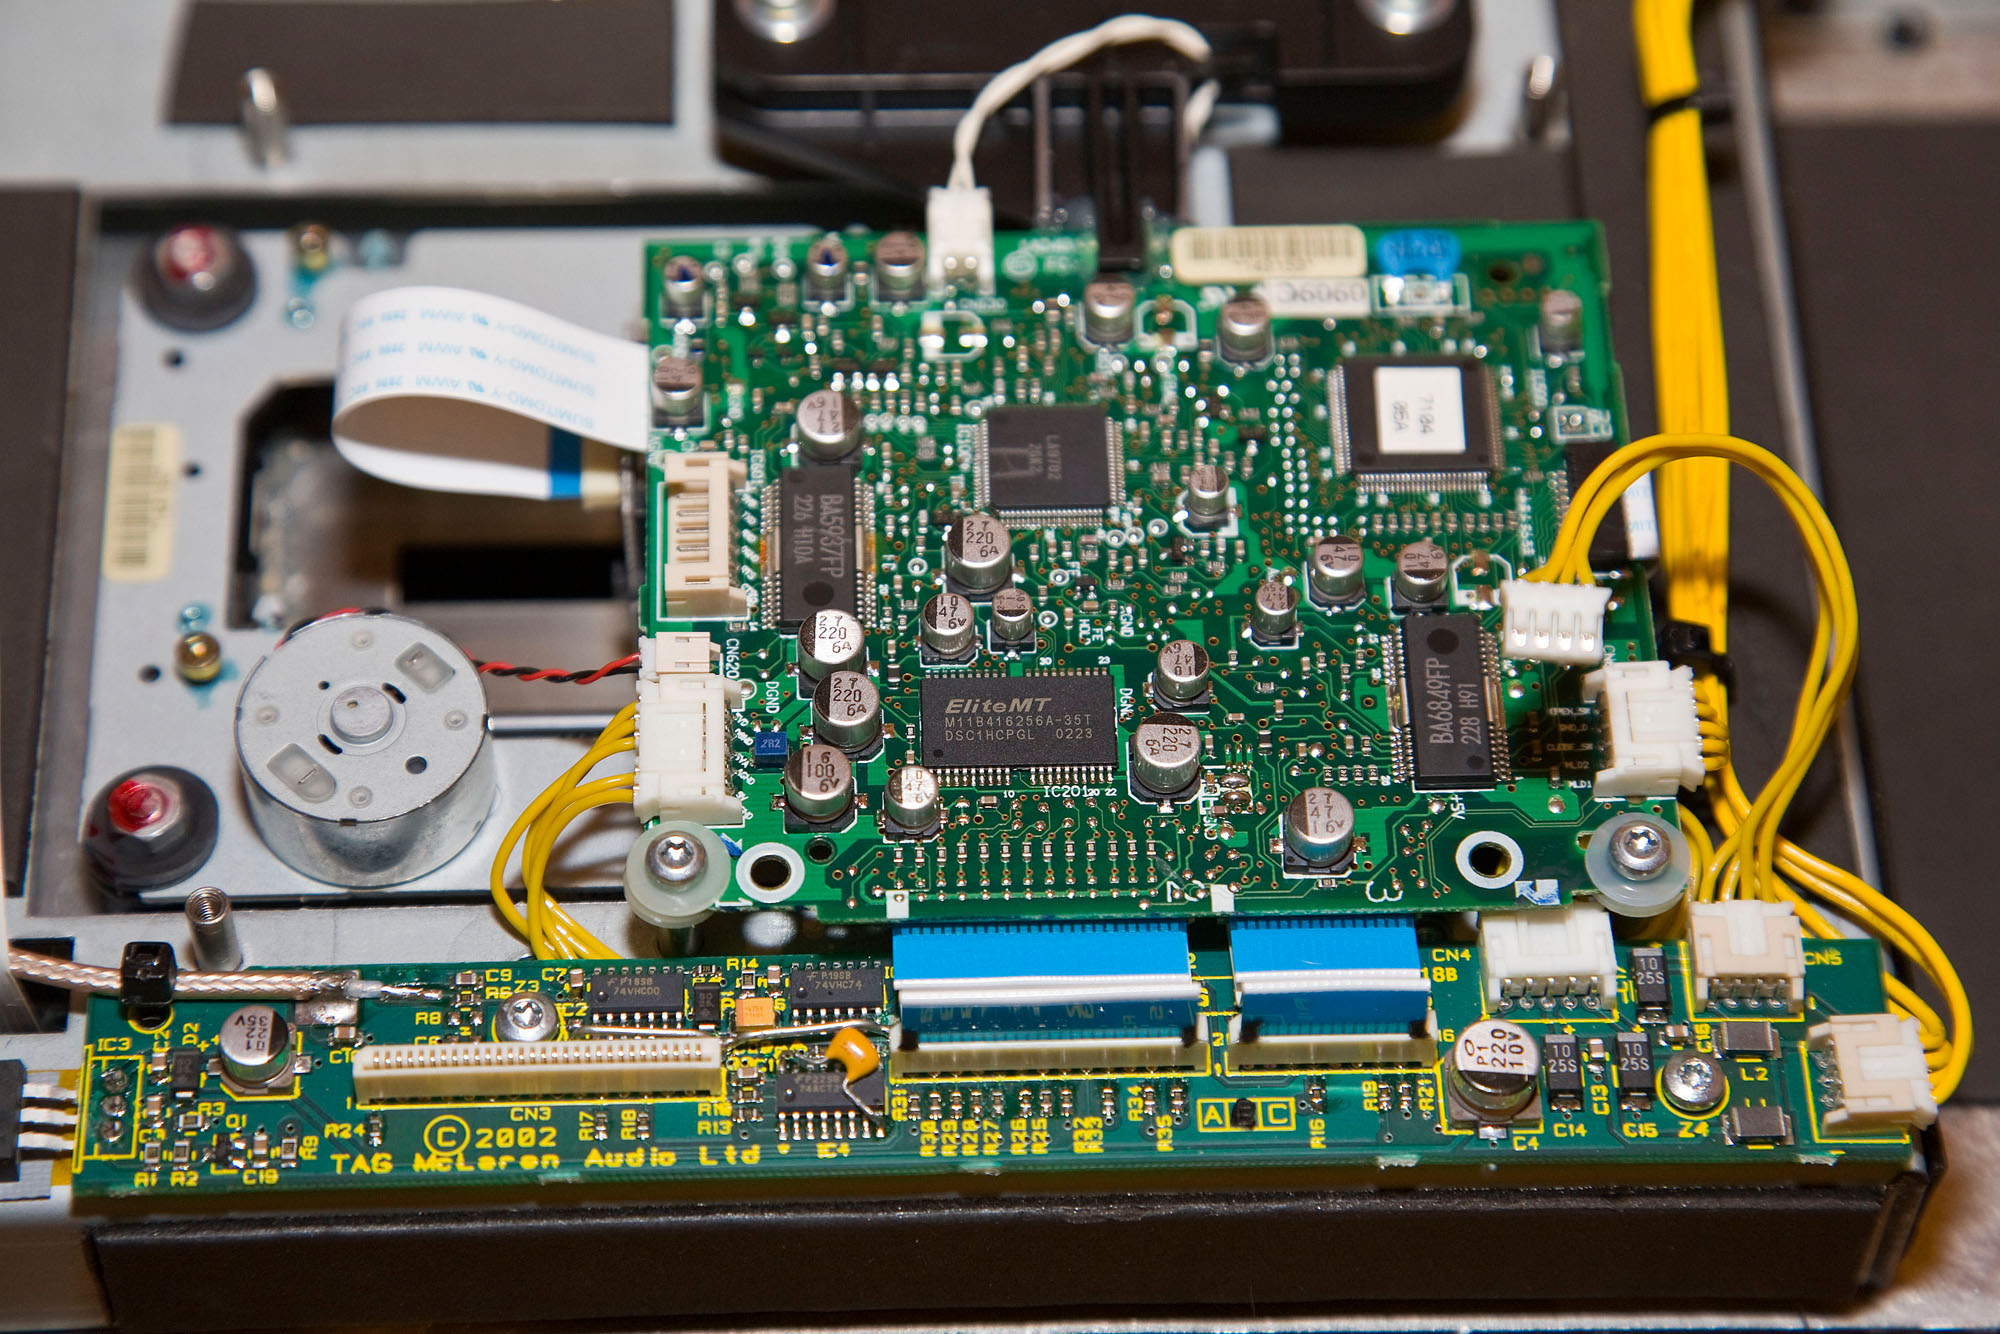
11. DVD Transport mechanism circuit board (under-side front view)
12. Main circuit board (right-hand side view)
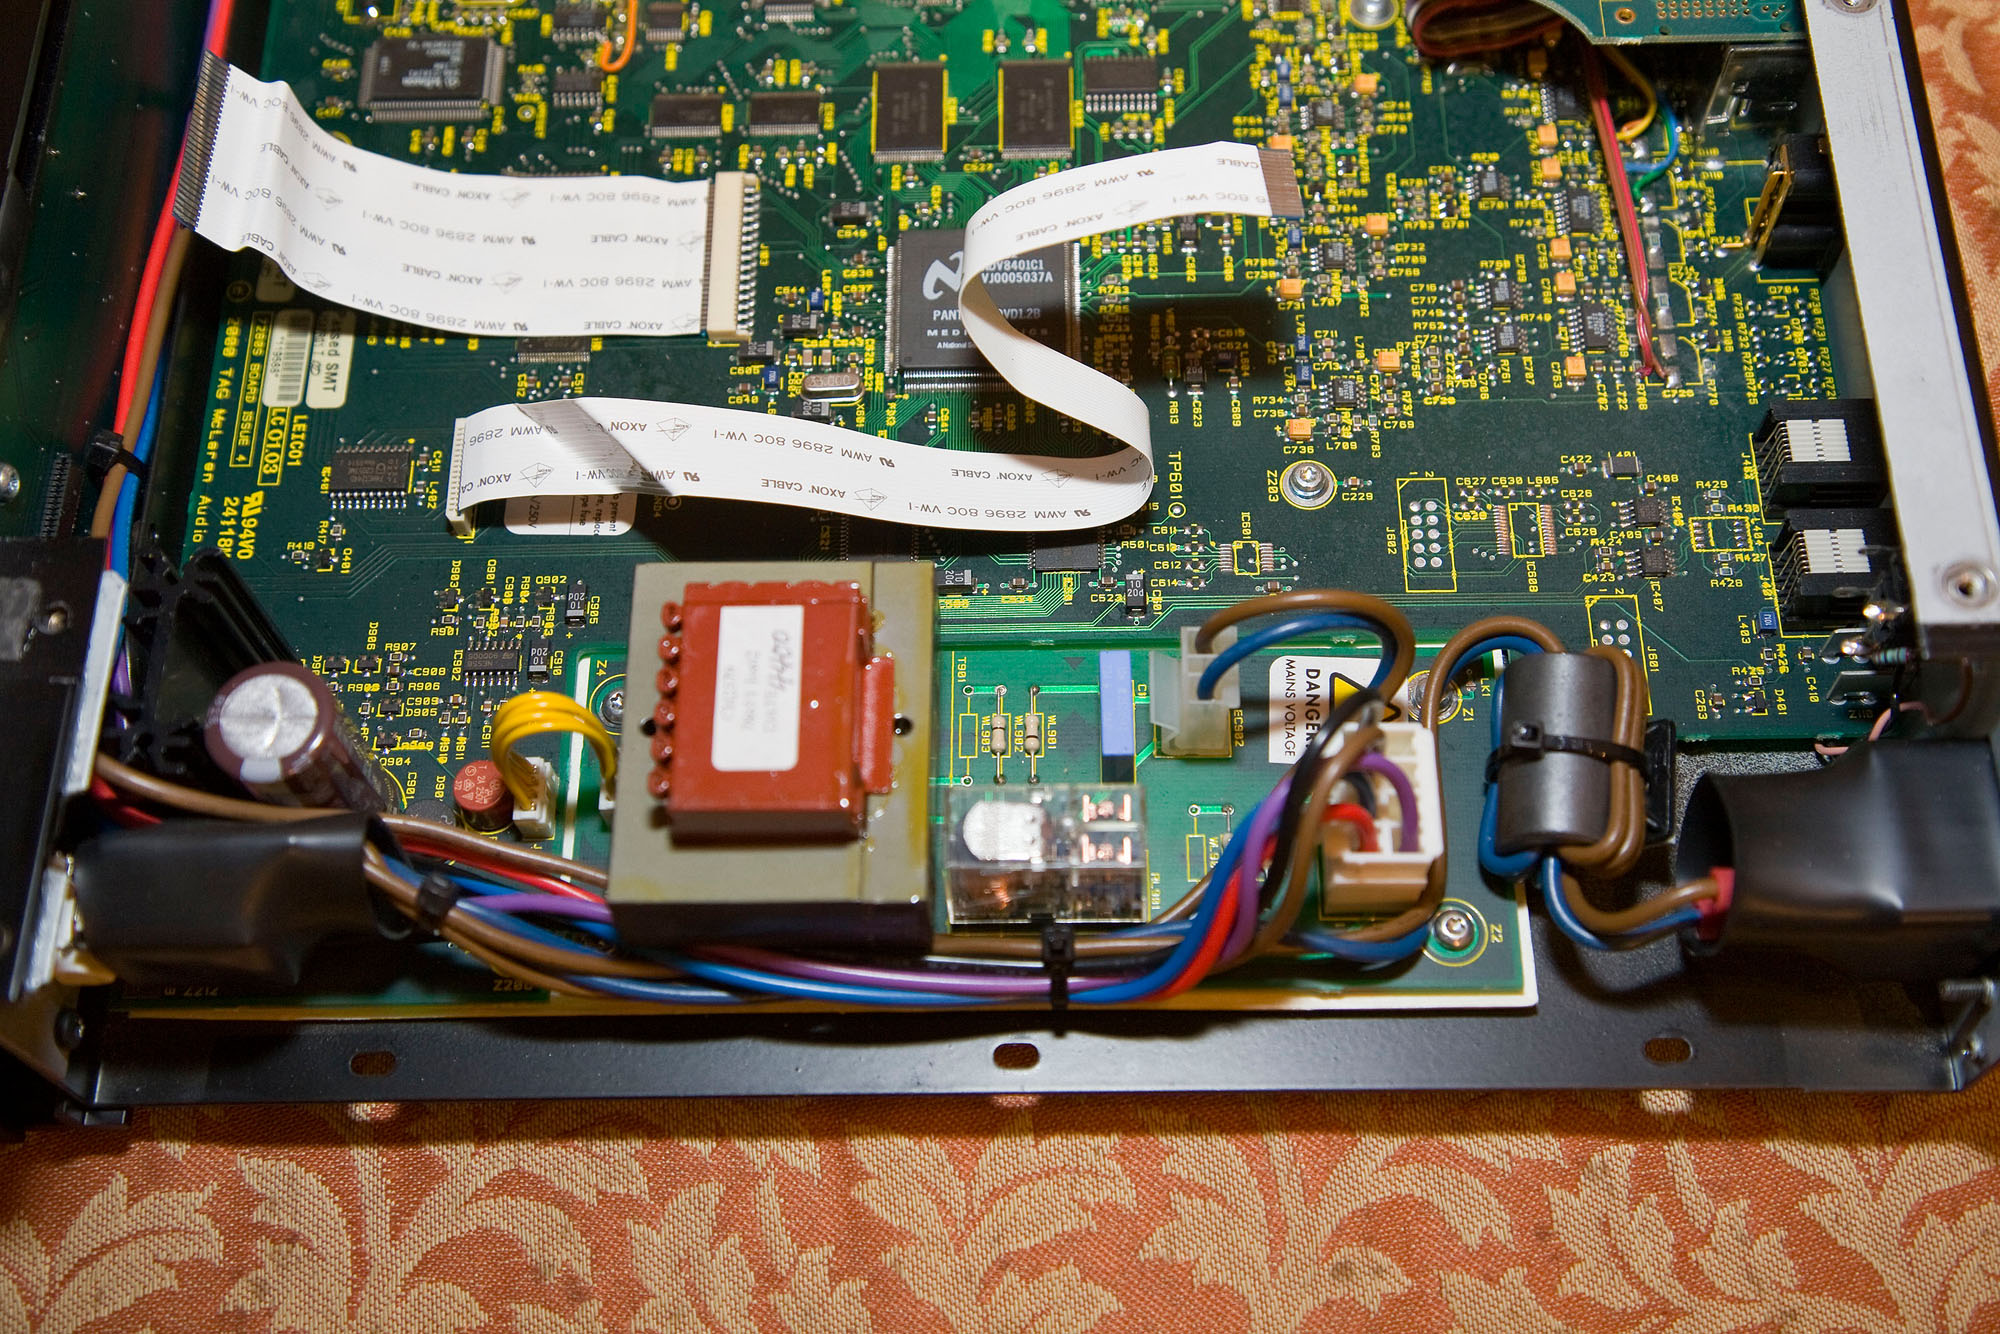
13. Main curcuit board (left-hand side view)

14. To re-assemble just reverse the steps 7 back to 1